*ssssstttttttrrrreeeeetttttccccchhhhhhhhh*
The above was the some from my tummy and the sound of the elastic on the waistband of my shorts. Ahem.
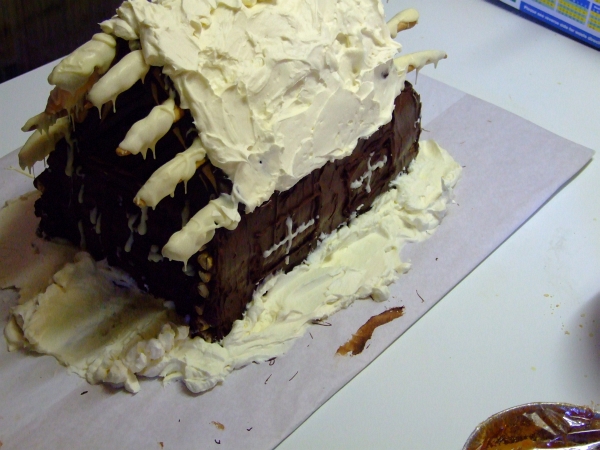
Before I give you any particulars or just how much chocolate and sugar was used, here's a pic of the finished cabin just before we started consuming it:
There are several things I learned while making this sucker --this list is in no particular order of importance, BTW.
*Don't make this in the middle of a 2 week holiday feast/gluttony session
*Don't make this in the middle of a hot Aussie summer
*When asking for tips (thanks Gretchen), don't ask after you are already halfway through. I'll be using many of her tips NEXT time.
*Get a lot more chocolate than you think you'll need.
*Ditto for the cream.
*Same for the sugar.
Not including the dough for the logs, here is a brief list of the approximate amounts that went into the cabin:
Dark Chocolate: 2 pounds
Milk Chocolate: 1 and a half pounds
White Chocolate: 1 pound
Heavy Whipping Cream: 2 litres (half a gallon)
Sugar: Around a kilo (2 pounds)
Cocoa Powder: half a cup
Ummmmmmm, yeah... drool...
But before I put of pics of the construction and a description, you'll first need to make the logs. I used a variation of my pretzel dough for making the logs of the cabin. I didn't baste them in an egg wash, nor did I sprinkle salt on them cus I figured that would just interfere with all the chocolate flavour. I also used less baking powder as I wanted them to be a bit denser than a normal soft pretzel.
Oh yeah, instead of simmering the uncooked logs in water with baking soda (that's how you get the pretzel flavour, btw) I added extra baking soda to the dough.
Here's what you need for enough dough to make a cabin of around 13 inches by 6 inches.
3 cups plain flour
1 tsp baking powder
1 tbsp baking soda
1/2 tsp sea salt
1 tbsp raw sugar
1 and 1/4 cups (310 mls) water.
What you do:
Mix all the dry ingredients in a large bowl. Add the water and mix it all together. Knead the dough a few times in the bowl till a nice, soft dough is formed, and add a bit more water (if it's really stiff) or a bit more flour (if it's really runny).
Grab a small piece of dough --a bit bigger than a golf ball, see:
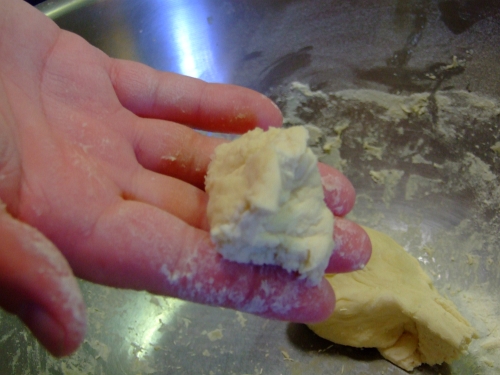
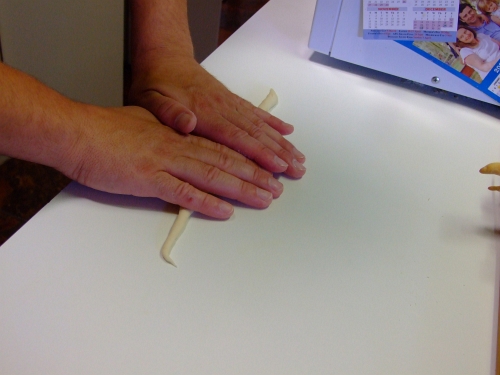
Roll it between your hands
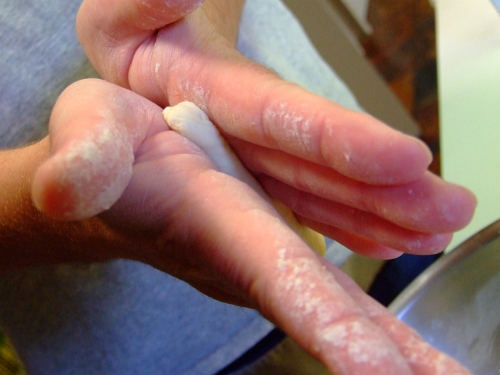
And then roll it out on a surface, starting from the middle and working your way to the ends:
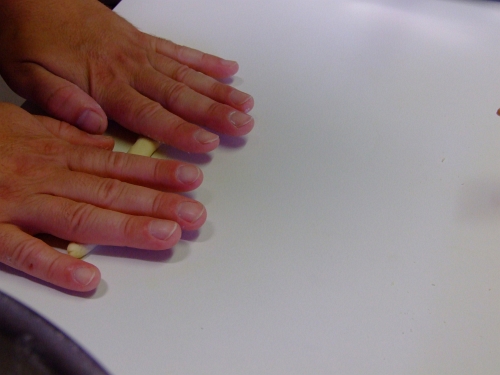
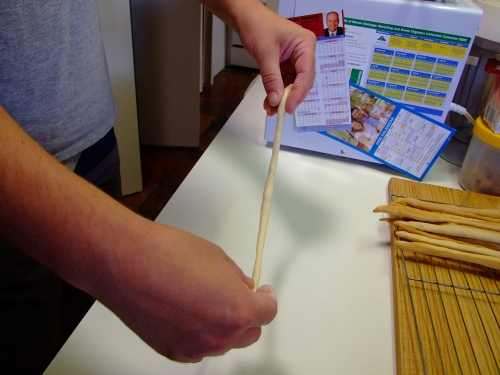
At this point you should have a dough string about 8 inches long. Now put your hands back in the middle and roll it out again
And you'll now have a thin strand of dough around 14 inches (or so) long
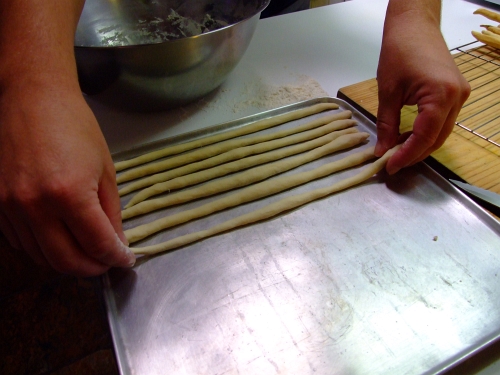
Make enough to fill a baking tray and lay them on it:
Bake at 180 C (350 F) for ten minutes or so. Check them regularly as every oven is different. Here's what the batch of cooked "logs" looks like cooling on a rack:

Let them cool, then put them in a plastic bag, seal the bag, and let them sit overnight. This it to keep them soft so that not only are they easy to cut and trim, but so that you can bend them if needed.
The next day...
Make your base. I used a piece of heavy cardboard about a foot and a half by 3 feet. Wrap the cardboard in cling wrap (saran wrap or whatever you want to call it) and then wrap it in some grease-proof paper.

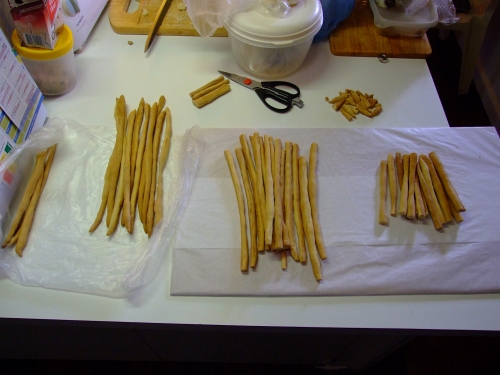
Time to start sorting your logs. Keep the longest ones for the roof (you want an overhang). I used 7 for each long wall (14 in total) and cut another 7 in half for the two short walls for a total of 21 logs for the walls.
One log was cut into 4 pieces for use as interior bracing, 9 long ones for the roof, and four left over for the roof supports and whatever else was needed.
See?
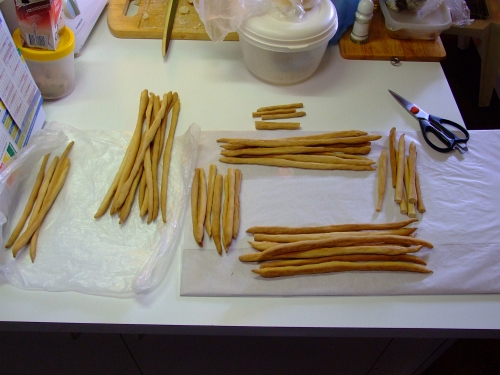
I then cut the tips off all 14 of the long wall logs so not only would they be equal length, but they'd look like logs too. Did the same for the pieces of the short wall. Make sure you keep the cut tips (about an inch long each) cus you'll need them to help brace the roofing logs.
It's now time to assemble it! That'll have to wait till part 2,3,4 etc as it's now 90 f in the shade, 112 F in the sun, and the pool is singing her Siren's Song.
3 comments:
Aw. It's cute!
Yay! Glad you posted this..I've been waiting, and checking, and waiting! It turned out really great, and it looks like it was delicious!
Arvay: Next year it'll be really cool!
Gretchen: I'll be using your tips next time, and I'll also have some sorta kinda like plan thingy...
Post a Comment