
Yeah, looks good! Mmmmmmmmmm... But dave, how do I make it?
This could be the easiest yeast bread you've made; time involved, ease of making, ease of cleaning up, etc. If you've done a bit of bread baking before, you'll quickly notice that this is NOT a standard bread recipe and it doesn't use all the "standard" techniques. But it works nonetheless!
I came up with this myself after doing some experiments. Hey, you never know if something will work till you try. Remember the saying, "From the ashes of disaster grow the roses of success!"
Here I am showing my age again...
Ok, let's get on with it!
Dingo Dave's Easy (and tasty) White Bread
What you need:
One large mixing bowl (the one I use is 13 inches wide (330 mm) at the top
One heat source for baking --I recommend an oven, preferably gas
Sturdy wooden spoon for stirring
One or two 9" by 5" bread pan(s)
Pie dish with some water in it
Ingredients:
4 cups baking flour (minimum 11.9% protein)
1/2 cup flour (for dusting and kneading)
2 tsp sea salt
3 tbsp raw sugar
1 and 1/2 tsp dried yeast
400 ml (1 and 2/3 cups) water
4 tbsp extra virgin olive oil
Whut yoo due:
First, fill your shallow pie dish about half full of water and put it on the bottom rack of your oven. I always do this first so that I don't forget to later on, ahem. What the water does is keep the oven humid so that not matter how dark your bread crust looks, it's nice and soft.
Next, put 4 cups of the baking flour in your large bowl. Remember, your flour should be at least 11.9% protein. Most household flours are anywhere from 9.6% to 10.9% protein and they don't make really awesomely good bread. Just check the nutritional info on the back.
Ho[pefully it'll look something like this:
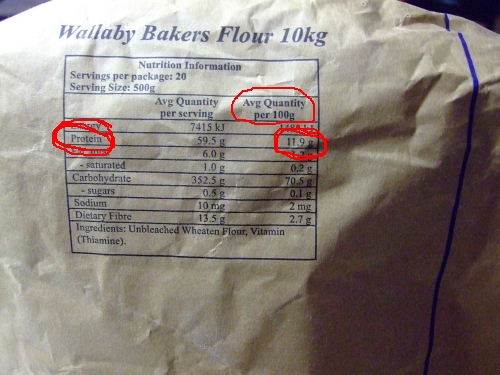
Wallaby Bakers flour is made at Strath, about 30 miles from here. It has one ingredient: Unbleached wheat flour. Gotta like that!
So here's where we are at:
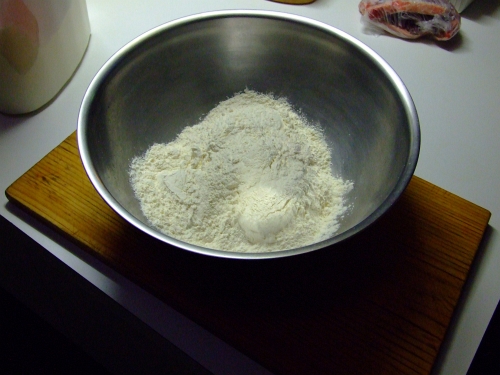
Just ignore that pack of thawing lamb chops in the background...
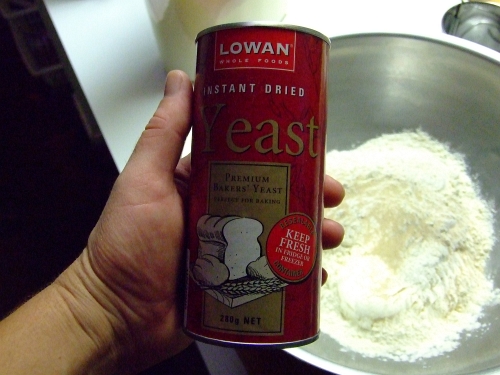
Now add your sea salt, raw sugar, and dried yeast. Give the bowl a couple of quick tosses to mix things (or use a spoon).
A quick word about dried yeast. If you buy it in large quantities you'd better make sure you use it within a few months. Otherwise your dough rising won't be too good. This size cannister lasts me about 2 months:
Add your 400 ml of water

And then drizzle the olive oil over the top

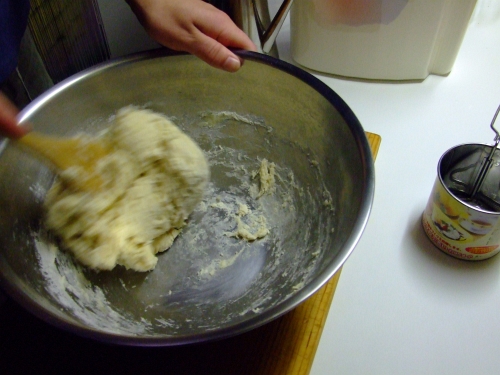
Grab your solid wooden spoon and start mixing!
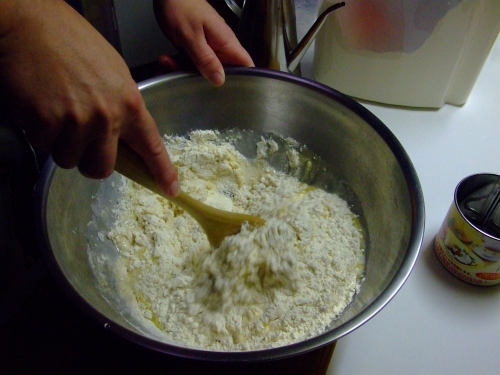
In about 10 seconds it'll start looking like this

Now's the time to turn your oven on high. Don't worry, you'll be turning it off in a minute or two, this is just to get a nice warm place to rise the dough.
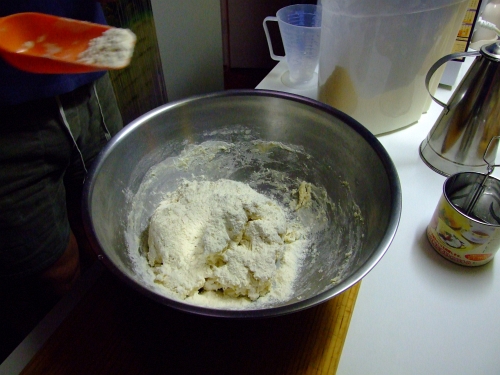
Kinda roll the sticky dough around the bowl to get all the stuff off the side
In around 30 seconds your dough should look something like this

Make sure you get all the doughy goodness off the spoon!
Sprinkle some flour on, it looks like I used about 1/2 of a cup
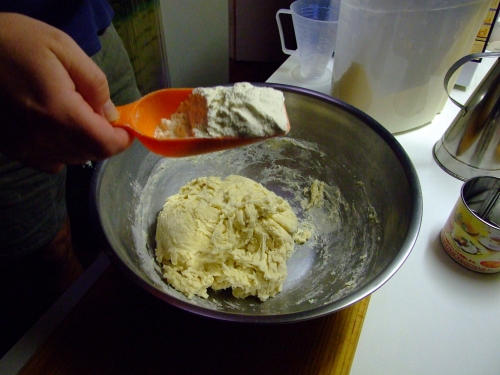
Please note, my orange scoop holds 1/2 a cup
Roll the dough around the bowl to get the dusting flour on it

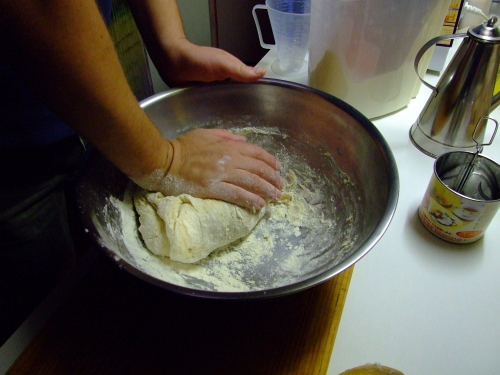
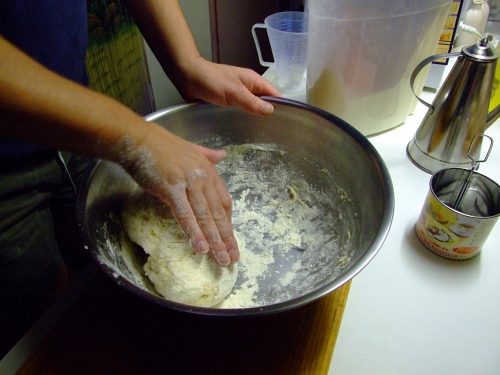
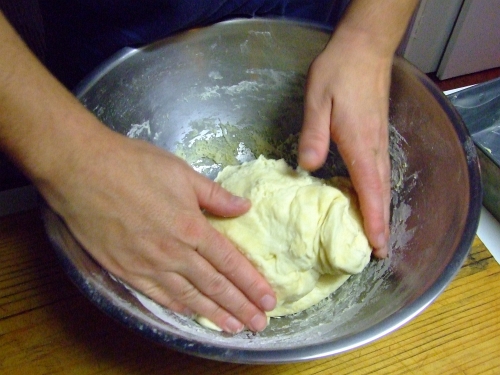
Now you get to start kneading the dough. Remember, always use the "heel" of your hand to knead. The only time you use your fingers with the dough is just to move the dough towards you so you can knead it again.
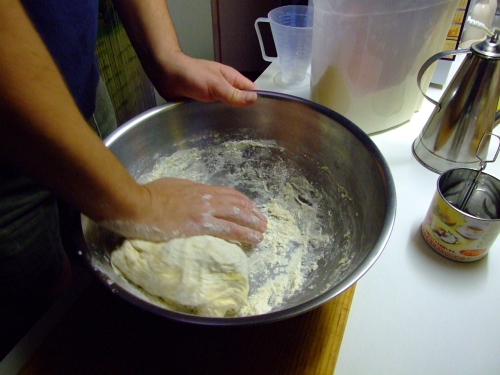
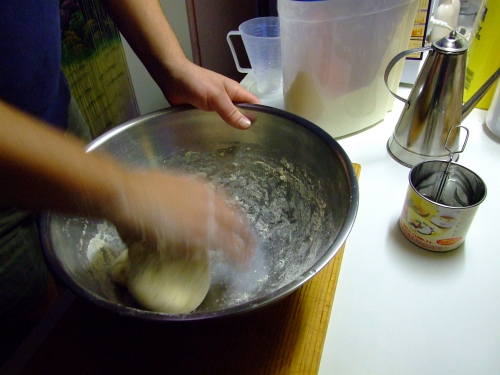

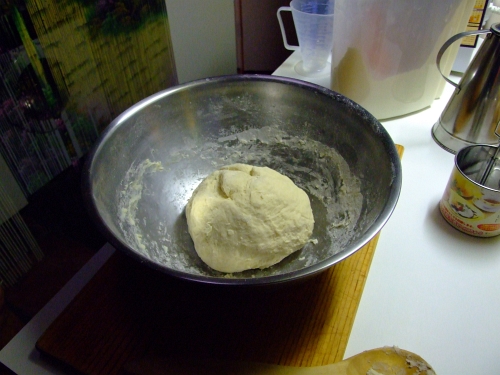
And in less than a minute it'll look like this!
Ok, turn the oven off. It should only have been on for 2 minutes MAX. This is just so there's a nice warm place to rise the dough. You may want to leave the oven door open for a minute if it got too hot.
Now put the bowl in the warm oven. Let it rise for around 90 mins. It should then look like this:
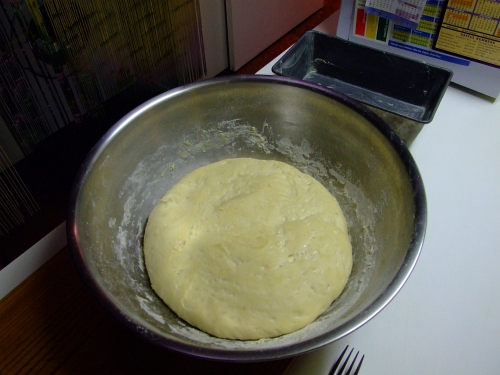
Here's the point where you need to make a decision... do you want one really good loaf (like the pic at the top of this post) or do you want TWO really soft, sponge-cake like loaves?
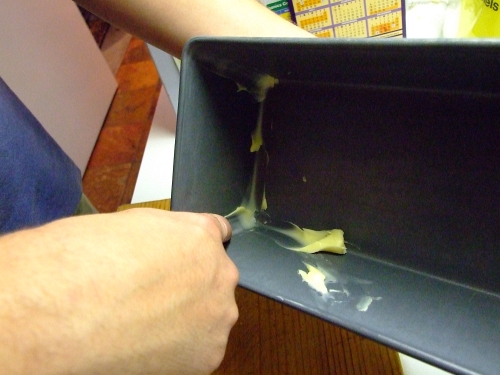
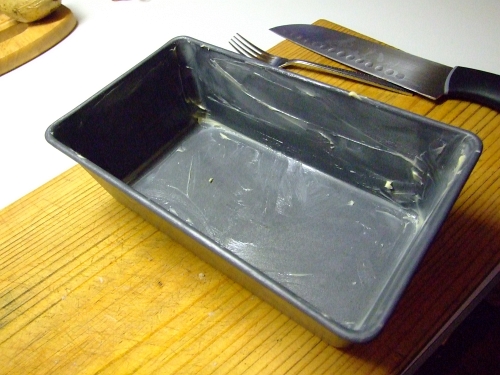
Let's say you want one. Butter up one bread pan. Just use your finger, no one's looking I promise. You don't need much, maybe 1/2 a tbsp.

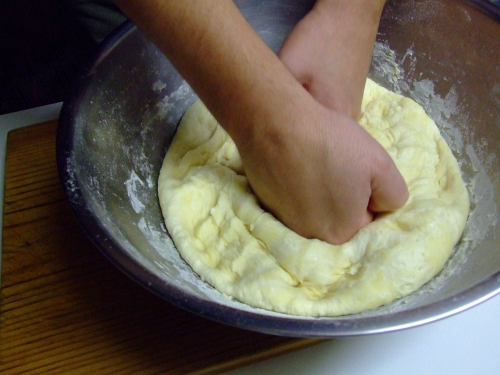
Now is when you get to punch down the dough! Always a fun thing, woo-hoo!
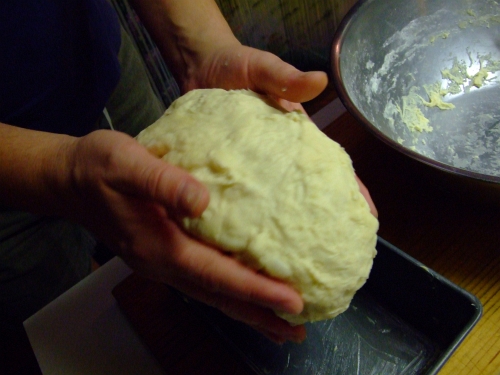
Then gather the dough up (the bottom will be a bit sticky)
Look! Dough!

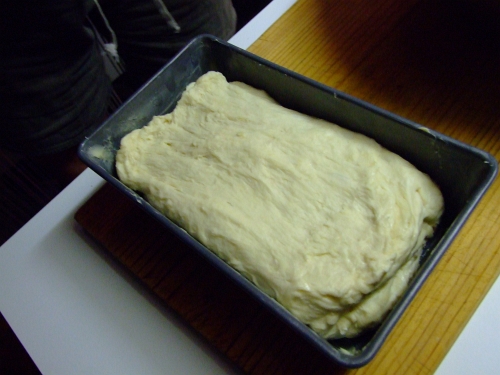
Form it into a roughly bread pan shape
And plop that puppy into the bread pan
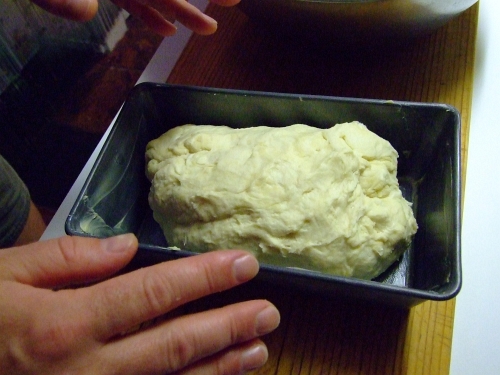
Plop!
Here's another technique that baking purists won't like... Stretch the dough so it forms into the pan
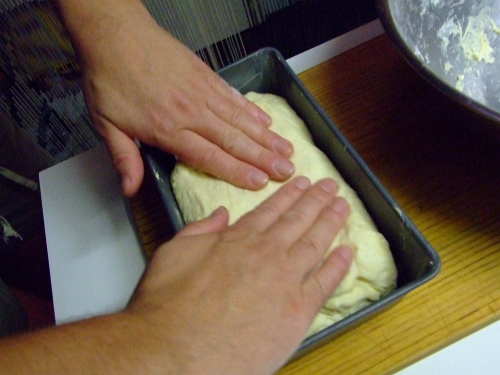
And it'll look something like this
But maybe not as blurry
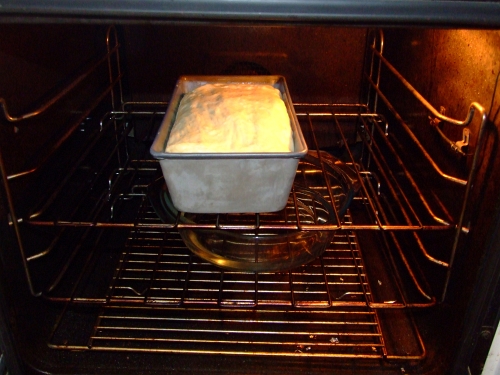
Put the bread pan into your (hopefully) still warmish oven for the second rise. When the bread reaches the top of the bread pan, then turn the oven on. 180 C (that's 350 F) for 45 minutes should do the trick.
And when it looks like this, it's done! Cool on a rack, then enjoy!
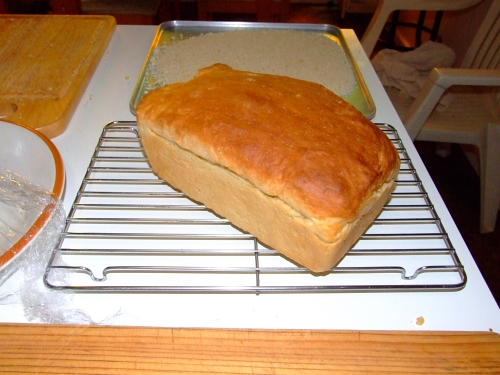
Remember, the top may look crusty, but it's very soft cus of the water in the dish in the bottom of the oven.
Let's say you wanted the two loaf spongy type. Once the dough has risen the first time, butter up two bread pans. After punching the dough down, divide it into two. Shape each into somewhat bread pan size and plop them in. Now, let them rise in a warm place (like the still warm oven) for FOUR OR FIVE HOURS. Then turn the oven to 180 C with the water dish still in the oven. It'll be like spongecake!
I'm sure I'm going to hear from some bakers saying that this is all wrong, but it really does work! Try it.
And clean up is a breeze. Just soak the large mixing bowl in water for a while and then wipe it clean. Ta-da!
3 comments:
You know, it might be easier to believe you (regarding the spongecake) with pictures as proof. Just a suggestion.
Also, and completely showing my lack of (Australian?) knowledge: What is spongecake?
Rachel: Hmmmm, you are right. I'll get some pics up, but ONLY cus you used the word "proof" in regards to a baking recipe! LOL, good on ya.
Spongecake... think cake. Like birthday type cake. Soft, moist, sponge-like. I keep forgetting that I've been down here 9 years now and I sometimes I can't remember whether something is a term from down here or if it was used in Alaska!
Since your recipe states 'baking floor' as one of the ingredients and does not mention the use of baking powder, I assume its the same as self raising flour. Or is it not? If not, then do you mean to say that we don't need to add baking powder while baking a bread?
Post a Comment