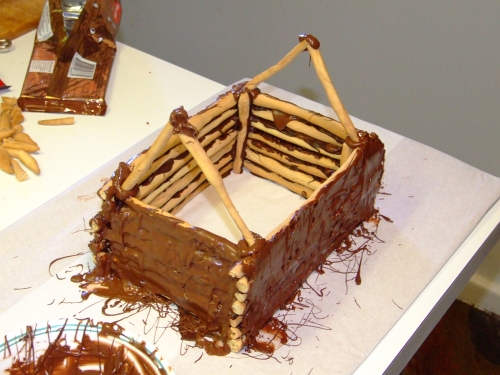
Now two weeks ago (sorry, it's been hot here) I left you here:
Remember, let the above construct set overnight so the "glue" (melted chocolate) firms up
Don't forget to read part one and part two if you are lost.
Remember I had only 9 long "logs" for the roof, so obviously a bit of trickery and sleight of hand was called for... Note to self: double the dough next time ya moron!
Notice that I don't have enough "logs" to make a leak proof roof. No worries, we'll fix that soon with loads of cocoa whipped cream! The important thing to note with the above pic is the very generous use of melted dark chocolate as glue. Also I used the snipped ends from the wall "logs" as spacers so the roof logs didn't slide down.
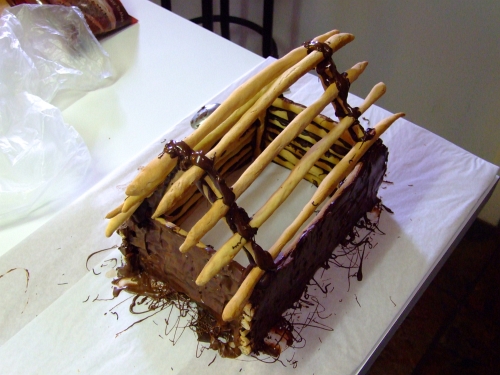
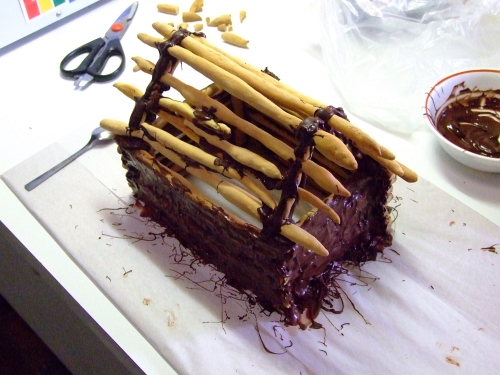
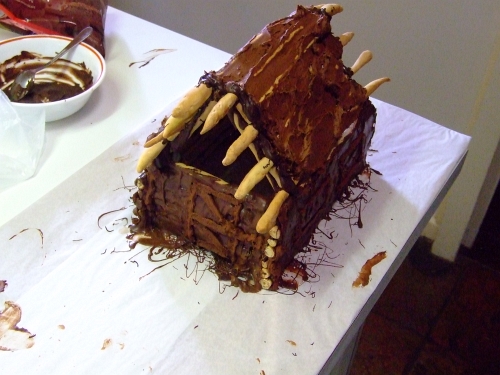
Now, I only used 8 of the 9 roof logs for the roof. I also had some short leftover logs. So I used all the leftovers to fill in some of the roof gaps. And lots and lots of melted dark chocolate for glue! Here's a view of each side after shoring up the roof gaps:

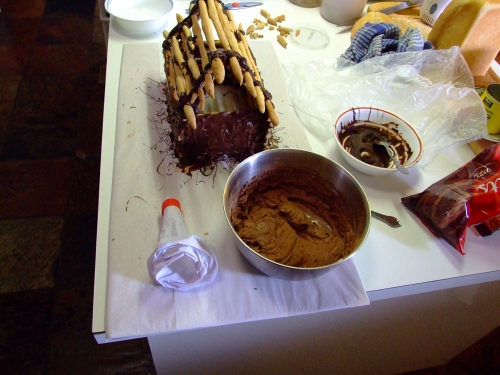
At this point I had given up hope of having enough time (it's bleedin' hot down here in Oz at Chrissie Time!) to cut out windows and a door. So I decided I'd paint on an outline of the front door and the window frames.
Hmmmmm, what to use... How's about 600 mls of heavy whipping cream, 1/2 cup of raw sugar, and 1/2 cup of raw cocoa powder? Yeah, that'll work. Chuck it all into a bowl and beat the heck out of it till it's stiff! It'll look something like this:
The chocolaty creamy goodness was then loaded into my piping bag and then I did this:
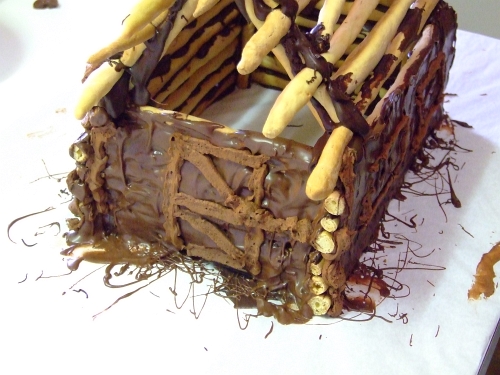
This'd be the front door. I tried to make a lift up wood timber for a latch... obviously it didn't work... But what the heck, it added more cream and chocolate!!
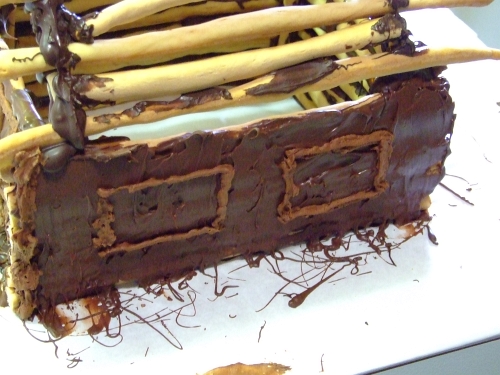
Next is the window frames, both sides and the rear were done like this:
You'll note there is a LOT of chocolatey cream left over. This is for the roof! Just trowel the creamy-cocoa goodness onto the roof. Like this:
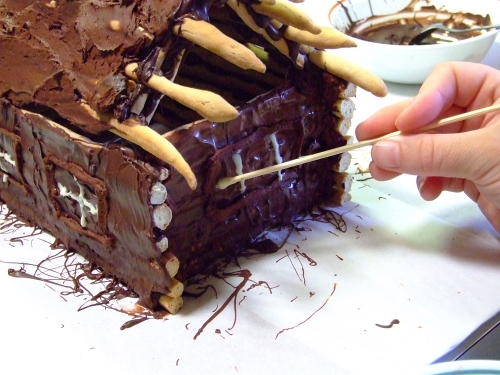
At this point, I decided to not use the cocoa cream for the muntin (or sash bars if you so desire that term) of the window frame. Why? Well as the cocoa-cream "set" it got darker. So much so that you almost couldn't tell it from the wall. Next time I'll do not only the muntin but also the frame in white chocolate.
How to make an edible window muntin: melt some white chocolate in your nuking machine. When it's just melted, use the blunt end of a bamboo skewer to "paint" on the muntin. Like this:
Stay tuned for part 4: Icycles and snow!
And I promise you won't have to wait two weeks for it. Why? Cus I wanna finish up with the chocolate log cabin so I can tell you all how to make really good Chilli Cherry Chutney (with onions and garlic). Mmmmmmmmmm, even WP (Wifey-Poo) likes it!
No comments:
Post a Comment