Like adding a bunch of chocolate drops to the chocolate fudge cake batter before baking. *drool*
There will be pictures, no worries. This is not one of my most photogenic creations, but it ranks waaaaaaaay up there on the taste scale! And the chocolate scale.
What you need:
One box of Betty Crocker Super Moist Chocolate Fudge Cake Mix
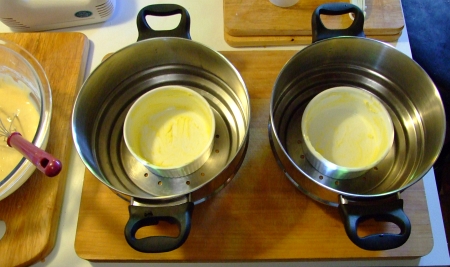
1/2 cup of chocolate melts -see the first picture
1 cup heavy whipping cream
1/4 cup raw sugar
1/3 cup cocoa powder
1 bar (375 grams or 12 oz) dark cooking chocolate
1 tbsp butter
1/3 cup of cream
You'll also need some sort of oven-like heating device, I'd suggest using an actual oven. Don't forget a cooling rack, and a LONG bread knife.
What you do:
Firstly, you'll want to make the cake mix according to the directions, pour it into a circular baking dish, but DON'T put it in the oven yet. This is the EXACT kind of cake mix you want:
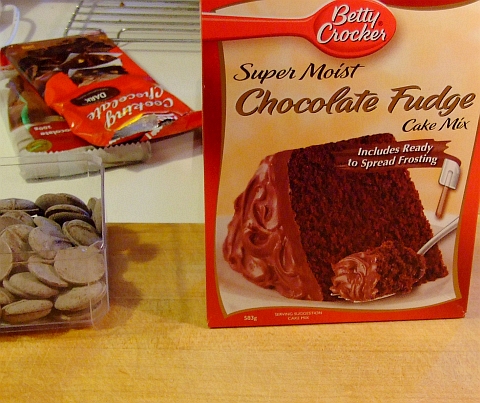
Do you see those chocolate drops to the left in the above picture? You do? Good! Now take about 20 or 30 or them and carefully put them into the batter you've already poured into the baking dish. You want to insert them vertically so they don't float on the top. What happens when the cake is baking the melts don't fully "diffuse" through the cake so that when the cake cools you have a whole bunch of "nuggets" of chocolate throughout the cake!
When the cake is done --ALWAYS test it with a skewer, NEVER trust the time on the directions-- take it out and put it on the cooling rack. Let it cool for hours. You don't want any heat left in it at all.
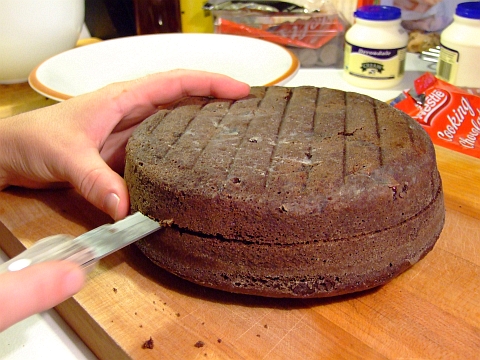
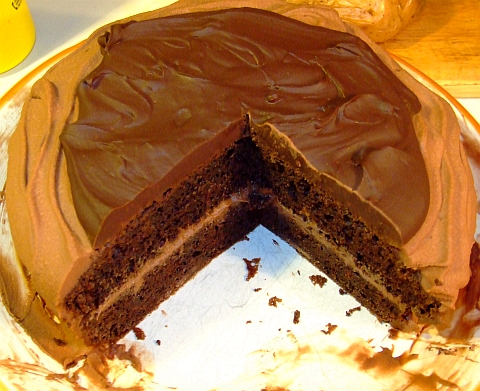
Once it is completely cooled off, you want to slice the cake in half horizontally. Make sure you use a long, serated bread knife and don't be in a hurry. Remember, you'll encounter pockets of chocolate from the drops you put in the mix.
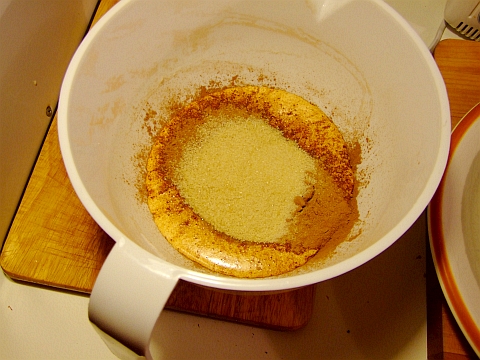
Now you want to make the chocolate cream! Add the 1 cup heavy whipping cream,1/4 cup raw sugar,1/3 cup cocoa powder to a mixing bowl and whip it up with you electric beaters till it's stiff.
Put 1/3 to 1/2 of the stiff, chocolate cream betwixt the cake layers thusly:
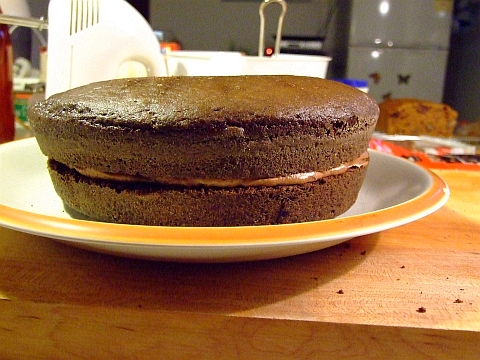
I'm sure you can figure out the process yourselves.
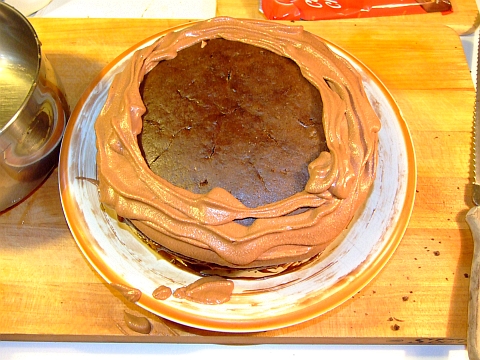
Oh, remember that bit of "icing" that came with the cake mix? Slather it around the sides of the cake, there will not be enough for more than that.
Next you want to slather on the rest of the cream around the top edge of the cake. Don't worry if it doesn't look all "showy" as all you really want is a lip so the sauce (next step) doesn't drain off.
Now put it in the fridge to chill of 30 mins or so.
Is it chilled yet? Good, time to make the chocolate sauce. You may note that this sauce has different amounts of butter and cream in it from my usual ones as I want this to firm up and almost harden upon cooling.
And no, you don't need a double boiler. A small, thick bottomed NON-COATED stainless steel saucepan works perfectly fine.
Add the last 3 ingredients into your saucepan. That'd be
1 bar (375 grams or 12 oz) dark cooking chocolate
1 tbsp butter
1/3 cup of cream
and put it on your lowest heat. Whisk everything together whilst everything melts together. This really should only take 3 mins at the most. Once everything is just melted, turn the heat off and continue to whisk for another minute.
Set the saucepan aside for 5 minutes or so till the sauce is partially cooled yet still pour-able.
Take the cake out of the fridge and slowly pour the chocolate sauce over the top. Put it back in the fridge. When the sauce on the top is firmed up (30 to 45 mins), then call it DONE!
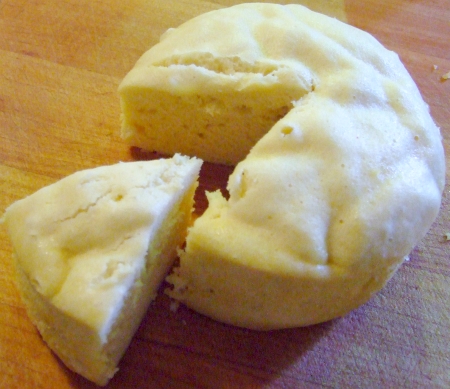
Slice it and serve it!
Your taste buds will thank you for making this. Your waistline may not. You've been warned.
As a variation you can make more of the choc sauce and less of the choc cream and use the choc sauce as the layer betwixt the cake halves. I think I'll do that next time.