Showing posts with label dough. Show all posts

Saturday, January 14, 2012

Easy Flour Tortillas WITHOUT Lard or Shortening!

DSCF8071

And these are SOOOOOO easy to make. They're ultra-easy if you have a tortilla press, but still very easy if you only have a rolling pin.

Very tasty, nice and flexible, and if you are vegetabletarian or even vegan these will be perfect for you!

The key is, of course, to use olive oil. Lots an lotsa olive oil! These tortillas are so healthy you won't feel at all bad having 5 or 6 homemade burritos in one sitting!

One caveat to add though: These are not Tex-Mex flour tortillas. It seems Texans for some reason like their tortillas slightly "foofy". That means they add a leavening agent, usually a bit of baking powder, to their tortillas. I personally don't like that for tortillas, as I prefer more of a traditional Mexican tortilla but without the lard and without the modern addition of shortening.

So, here's whatcha need and here's whatcha do:

What you need:
2 cups plain, unbleached flour (or 1 wholemeal and 1 plain)
1/4 to 1/2 tsp sea salt
2/3 cup (Yes, TWO-THIRDS!) extra virgin olive oil
just under 2/3 cup (call it halfway betwixt 1/2 to 2/3 cup) water (H2O)

What you do:
This is pretty simple. Mix everything together in a bowl, knead it for a few minutes till it's a dough. Cover with plastic wrap and let it rest for 30 minutes.

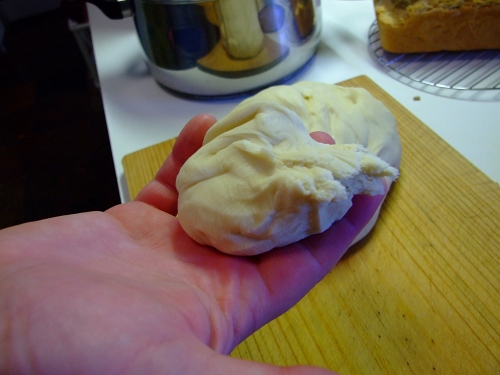
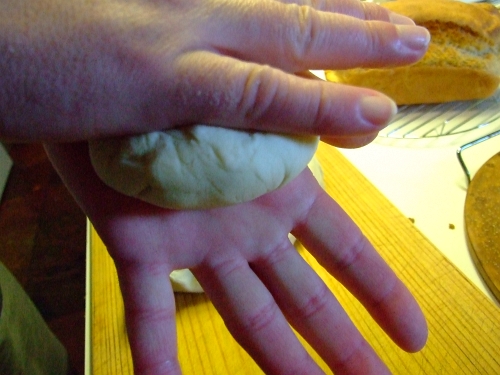
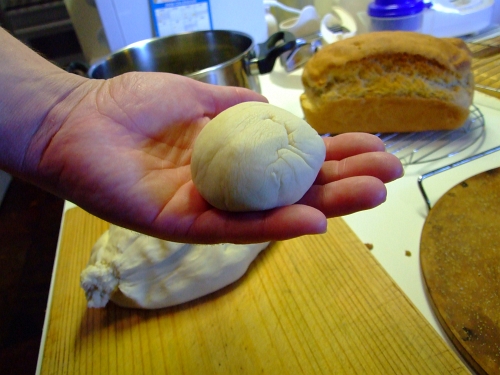
Divide your dough into 6 pieces. The easiest way to do this is to roll/shape the dough into a tube, slice it in half, then cut each half into thirds. Although I'm sure you could have figured that out on your own, right?

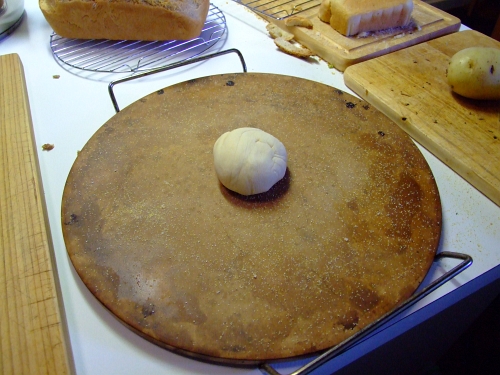
If you have a 12 inch tortilla press, then you just, ummmmm, ahhhhhh, make your tortillas!

If you only have a 6.5 inch tortilla press (like me) then you still press out the tortillas and then finish them to 12 inches with a rolling pin.

If you have neither, then just roll em out to 12 inches in diameter.

When you stack up the uncooked tortillas make sure you put wax paper or a tea towel betwixt each tortilla.

For "cooking" the tortillas the best cooking implement to use is a large, well-seasoned, cast-iron fry pan. A thick-bottomed stainless steel one will work just fine too.

Once your fry pan is heated up on your stovetop then you just "cook" the tortillas for 20 to 40 seconds a side, only flipping once. Pile up all six, then spread them out on a board to cool for a few minutes.
DSCF8071

Once they are cool enough to handle easily but still warm you want to put them into a plastic bag for 15 minutes.
DSCF8070

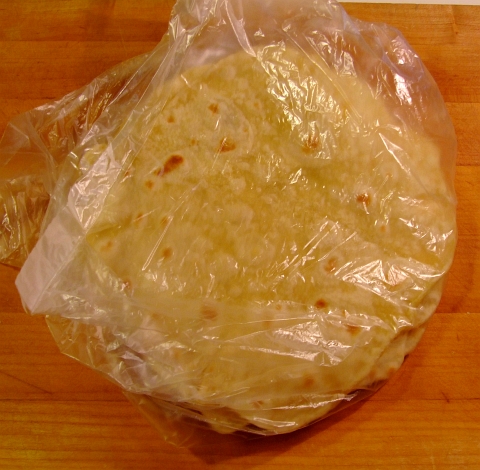
Take the tortillas out of the bag to finish cooling completely and you'll find they nice and flexible and won't tear no matter how much good filling you stuff into them and wrap up!
DSCF8066

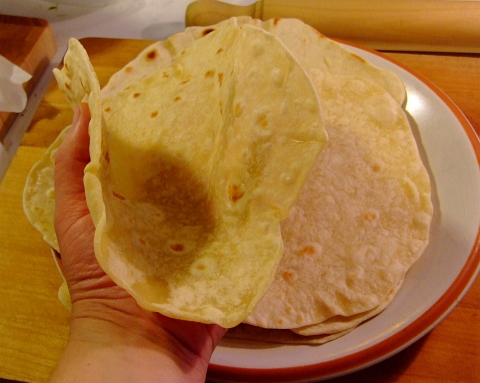
Load em up with whatever you want! Beans, veggies, shredded seasoned meat, souvlaki fixings, etc. I'm sure you can figure out what to do with them.

Don't worry about how long they'll keep in the fridge, they'll all be eaten in one day -possibly two if you are on your own.

Tuesday, June 15, 2010

Cumin Seed and Cayenne Crackers *updated*

Making your own crackers is not all that difficult. If you are a person who does your own baking all the time *cough, cough Rachel* then these'll be very easy.

And you can change around the seasonings too! Nothing wrong with experimenting around with flavours as Naturelady certainly knows all about that.

I got the idea for these from a cookbook (I have a whole bookshelf of those darned things), but I'm not going to tell you which one as not only were there numerous typos throughout all the recipes, but the crackers (which didn't include cumin seeds or chili or SALT or turmeric) tasted HORRIBLE! I also had to change around the amounts of dry stuff.

Kinda tells you about the editing prowess of the folks at Newscorp, eh?

Anyways, here's a fairly simple recipe for making your own crackers and not having to worry about pronouncing all the unpronounceable chemicals in the commercial crackers.

What you need:

1 cup of flour
1 tbsp cumin seeds
1/8 tsp turmeric powder
1/2 tsp baking powder (I know it seems low, but we are making crackers, not bread)
1/2 tsp raw sugar
3/4 tsp sea salt
1/8 tsp cayenne powder OR 1/4 tsp chili flakes (double it if you really like spicy stuff)

1/4 cup of milk
2 tbsp olive oil


What you do:

Mix all the dry ingredients together --that'd be the first 7 of the above list. Add the milk and olive oil and stir lightly, then knead a few times.

THIS DOUGH WILL BE CRUMBLY! But that's OK.

Now let's roll this out! Grab off about half or a third of the dough, plop it on your counter, and start rolling! You want to get it to betwixt 1mm and 2mm thick. I like to err on the thin side personally.

Once you have it rolled out, you then get to cut the dough into cracker sized pieces. Before you do that though, you can prick the thin rolled dough with a fork if you so desire. Cookie cutter, kitchen knife, pizza cutter... whatever you want to use to cut the dough into whatever sized crackers you prefer. Your choice!

Then, of course, roll out and cut the rest of the dough.

Sprinkle some sea salt on a baking tray, put the crackers on it (you can crowd them, no worries) and sprinkle a bit of salt on the top.

Bake for about 10 minutes in a 350-400 F oven. Once the bottoms are slightly browned, then turn em over and bake for about 3 or 4 more minutes.

LET THEM COOL! They are *ok* when hot, but soooooo very tasty once they've cooled. They're also strong enough to scoop up any amount (or type) of dip you care to use.

Making your own crackers is an easy thing to do, and you get to stay away from all the chemical crud in the store-bought crackers.

*update*

Feel free to play around with the flavourings, please let me know if you find a really great spice/herb/seed combo, thanks for that.

Sunday, November 9, 2008

Quick and Easy Dinner Rolls

I have a confession to make... I make all our bread. Loaves for sandwiches and toast, pizza dough, foccacia, bruschetta, dinner rolls, cheesebread, zucchini bread, corn bread, etc. The confession is: I now use a bread machine for the dough!

I know, I know... Sacrilege! Blasphemer!

Well, does it help that the batter breads are still made in a bowl? So's the corn bread. So's the biscuit dough. Even the doughs made in the bread machine are also still rolled out and shaped by hand! Heck, even my homemade pasta (no pasta maker, just a rolling pin and really strong forearms --no carpal tunnel yet!) is completely from scratch!

OT how many guys do you know that actually make their own ravioli?

And I do toss and twirl the pizza bases to shape them! Oops, SPLAT, there's another mess on the floor to clean up...

So, can you, like, maybe, sorta forgive me for using the bread machine for the dough? Pretty please?

So, here's my standard recipe white bread and rolls. It all gets chucked into the bread maker on it's "dough" setting. If you're making it by hand I'm sure you'll figure out how to make it since you've obviously made dough before. If you've never made dough by hand and don't have bread (dough) maker, then I'll put some instructions up for ya, no worries.

BTW, I use the bread machine for dough cus I'm making at least a loaf everyday. And today I'll be making pizza dough in it along with a loaf of rye. It really just saves boatloads of time.

Dingo Dave's Quick and Easy Dinner Rolls:

What you need:

375 mls water (that's about 1 1/2 cups)
2 tbsp raw sugar (that's about 2 tbsp)
1 tsp of sea salt (or somewhere close to that)
3 tbsp olive oil (yes, it must be olive oil)
4 1/3 cups high quality flour (at least 10.9% protein)
2 tsp dried yeast

What you do:

If you have a bread machine, then chuck it all in your bread pan (don't forget the paddle!!!) and set it to your "dough" setting. Should take about 90 mins (minutes).

If you wanna make the dough by hand...

Warm the water slightly and add the sugar and the yeast. Let the yeast "proof" for ten mins (it'll "foof" on the top of the water). Sift the flour and salt into a large bowl. Add the proofed yeast mix and the olive oil. Mix well. Turn the dough out onto a lightly floured surface and knead 8 or ten times. Remember: when kneading bread dough, only use the "heels" of your hand, DON'T dig your fingers into the dough.

Put the dough into a lightly oiled bowl, cover the top of the bowl with a damp, warm towel, and let rise in a warm place for an hour (turn your oven on for a minute, then turn it off: instant warm place!).

After an hour, the dough should have doubled in size. Punch the dough down and then turn it onto a floured board.

SEE? Wasn't the bread machine way so much easier????

BTW, remember I'm not too worried about how my food pics looks, they are more to give you the general idea. Besides, I'm usually way too busy in the kitchen to get good food pics. Unlike my parrot pics, of course.

Anyways, no matter how you make the dough, here's what it'll look like after you take it out of the bread maker or take it out of the bowl:
ball of dough
Please note this morning's loaf on the bread rack and tonight's chicken soup stock in the large pot.

Grab a small hunk of the dough, about this size:
tiny hunk of dough
Please note, this size is for dinner rolls with the soup. When I make burger rolls for the kangaroo burgers I'll make em a bit larger.


Give it a quick roll between your palms:
rolling around


And it'll look like this:
finished dough roll


I cook mine on one of my pizza stones. Just sprinkle a bit of polenta (or corn meal if you are in North America) on the stone so the rolls don't stick. Put the first one in the centre (center):
one roll
Note, that's not crumbs on the pizza stone, it's polenta. Also, the potato is to be diced up and tossed in the soup. The end of the bread is for bread crumbs.


Load up the pizza stone with the rest of the rolls:
lotsa rolls
Note the amount of space left between the rolls


Now get a brush, some olive oil and a bowl
olive oil brush dish


Brush, brush, brush...
brushing


Pop that sucker in an oven at 180 C (around 360 F) fan forced, or 200 C (395-400 F) if not fan forced. 20 to 25 mins.

When they come out they'll look like this:
done rolls 01

And here's another view:
done rolls 02
Please notice that I diced up the spud, seared the pieces in a wok with some olive oil and flour, and added it to the chicken soup while the rolls were cooking.


After about five mins, pull the rolls apart and let them cool on a rack. If you've left them in the oven too long and the tops are too crispy, then after about 20 mins of cooling put them in a plastic bag. The rest of the steam will soften the tops and they'll still be perfect.

Remember, if you are gonna use them for roo burgers, instead of rolling them out to 11 or 12 rolls, you'll want 6 or 7 ro